I’ve decided to start a recipe section of my blog, with some of my focus being around the theme “Make Instead of Buy.” In line with my recent sustainability efforts, I’ve started looking around my kitchen to see what I could make easily. Not only will this save us few dollars here and there, but it’ll also keep more waste out of our kitchen. My first mission was making an easy vegetable stock recipe.
Making my own vegetable stock appealed to me because it’s not only super easy, but almost 100% of ingredients would otherwise go straight into the garbage. Since we live in an apartment, having a compost pile isn’t realistic for us. I briefly considered having a compost bin, but don’t really have a use for compost other than for the houseplants and balcony herbs we have. Going into winter, we won’t even have the balcony plants. Food scraps tend to go in the garbage, contributing to our household’s overall trash output.
Save Those Scraps!
I stumbled across an idea online to save your vegetable scraps throughout the week in the freezer and then making vegetable stock when you have a large freezer bag full! This seemed like a brilliant idea. I had brushed the idea of making vegetable broth off before because I would either: a) never have enough scraps to make it or b) didn’t want to use perfectly good vegetables just to make stock.
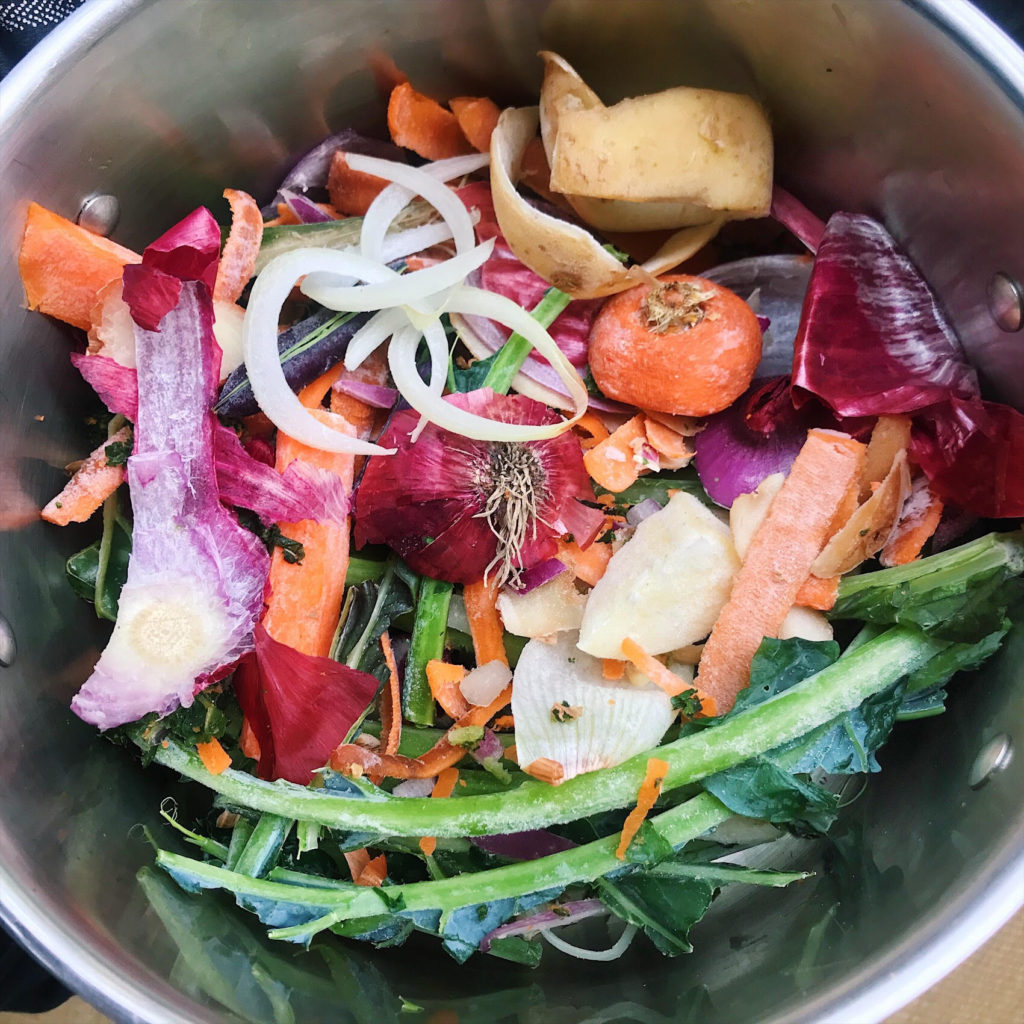
Within a week, my gallon freezer bag was full! I’d been tossing all sorts of scraps in all week–wilted greens that we didn’t eat in time, basil stems from my last basil harvest, onion ends, eggplant tops, broccoli stems, hot pepper tops, outer cabbage leaves– you name it! The broth might taste a little different depending on what veggies you have. Since it’s just a base for recipes and never the main ingredient, I’ve never noticed the varying taste.
What’s the process?
Pour those frozen scraps into a large soup pot, cover them with water, add your seasonings and bring to a boil. I’ve recently gotten very attached to the savory flavor that thyme provides. It adds a certain umami element and I love it so much!
If you have any extra herbs on hand, throw them in too. I had some fresh sage leaves from a butternut squash recipe I’d made earlier in the week (yum!), so I chopped those up and threw them in.
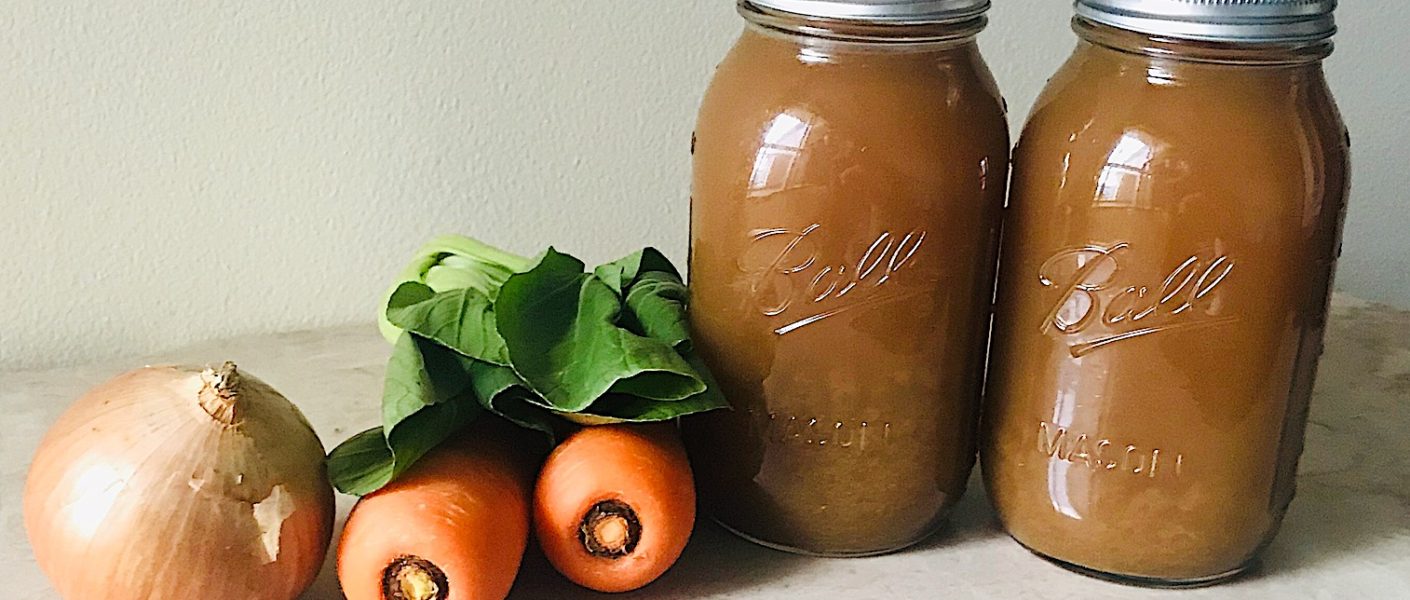
Once boiling, reduce to a simmer and cover. Simmer your vegetable stock for at least two hours. I usually go for 2-3 hours. Use a colander to strain all of the large chunks out, and then strain the broth through a tea strainer to get all the smaller bits. It should come out to about two quarts of broth!
The first time I made it, I immediately used 3 cups of it in the rigatoni pasta recipe I made for dinner, froze the remainder of that quart, and put the other quart in the fridge.
![]()
Freeze it for Later!
I recently discovered you can freeze in glass! Another thing I thought I absolutely could not do without using plastic! If you’re new to freezing in glass, check out this shatter-proof guide here.
I love using this broth for a base in soups and chilis! Tokyo has just under the amount of rainy days per year as London. I’ve been making so many different soups and stews during all of these cool rainy days!
This recipe is the perfect addition to all of those cold weather recipes you’re making this time of year. Plus, it’ll help you cut down on grocery costs and kitchen waste!
Easy Vegetable Stock
An easy way to make your own vegetable broth so you never have to buy it again!
Ingredients
- 4 cloves garlic
- 1 medium onion
- 3 chopped carrots including peels and ends
- 2 stalks celery
- 8-10 cups vegetable scraps
- 1 tsp salt
- 1 tsp pepper
- 1/2 tsp thyme
- 3 tbsp nutritional yeast
- 12 cups water
Instructions
-
Roughly chop any extremely large pieces of frozen veggies.
-
Place your scraps into a large soup pot and cover with 3 quarts of water.
-
Stir in your salt, pepper, nutritional yeast and thyme.
-
Bring to a boil, cover and reduce to a simmer.
-
Simmer for 2-3 hours. Avoid stirring so that the vegetables don't turn to mush.
-
Strain into mason jars and refrigerate or freeze.
Recipe Notes
-Although I included additional veggies besides the scraps, this is totally optional. I've found that I don't need to add extra veggies to my bag full of scraps! You only need these extra veggies if you happen to have a whole bag of only one type of veggie.
-Inspiration from The Minimalist Baker


Hi Jennifer,
This is a great idea! It seems so obvious, but I never thought of it. I always feel guilty throwing out veggie scraps or veggies I’ve let go too long in the ice box. I will definitely use your strategy and recipe.
Thanks!!!
Love to Kris and Adriana,
Aunt Lucy
I know! I feel the same way – I can’t believe it took me this long to start doing it. Sending lots of love your way from the three of us!